The Light and the Darkness
Let's talk about a rather basic art technique that seems to rarely make its way into a lot of video synth patches: highlights and shadows. Now, I understand why it tends to get left out: the workflow is based on a lot of layering and mixing and keying and modulating. You take a lot of disparate elements and slam them together and get something cool, right? Collage and manipulation. Working with highlights and shadows stems more from a workflow where there is a specific image goal in mind. Anyone working from a video synth workflow will tell you that approach can be a tall order.
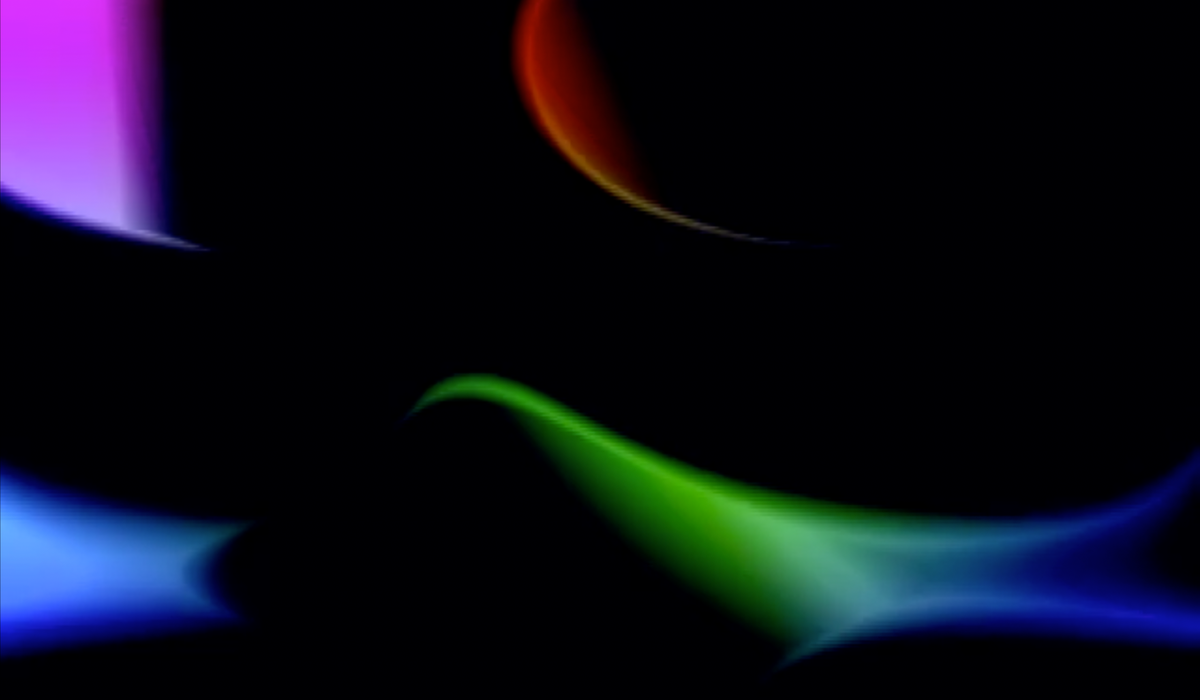
It doesn't need to be! You can still keep it abstract and generative while having an added polish with highlights and shadows. Here's an example of what I am talking about:
Why does it look shiny? The yellow highlight is accenting the wave peaks. Why does it look kind of 3D? The darker elements are being pushed back, giving an illusion of depth. These are still 2D shapes layered on top of each other.
Getting There
The most straightforward way to add shadows and highlights in a modular video synth workflow is to extract them from an existing image. There are a number of modules that can be used for this purpose, so let's run them down.
Keyers
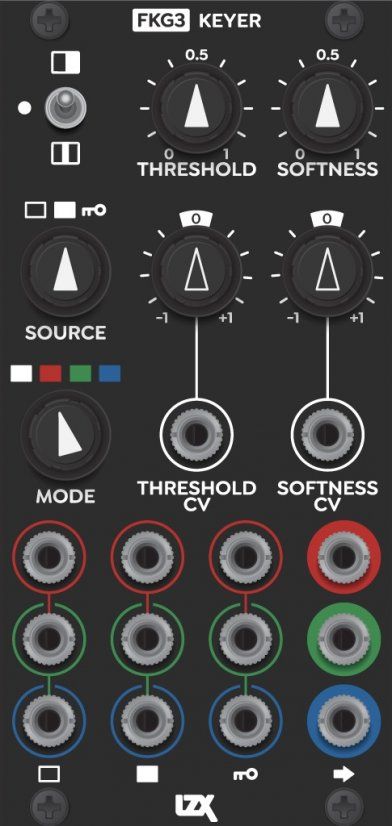

Keyers are maybe the most straightforward tool to reach for when deriving a shape from another shape. Feed the signal in, turn the knob to create a larger or smaller version of the shape and you're good to go.
Filters
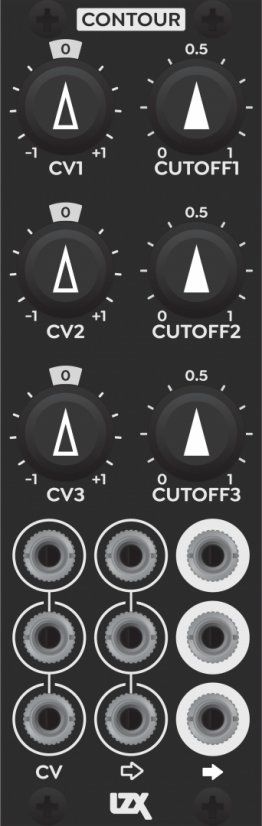


I'm lumping some modules in here that aren't strictly filters, but are functionally similar for our light/shadow purposes. One thing to note about filters is that the filter type is going to matter a lot. Highpass filters or anything labeled "edge extraction" will generate thin-line versions of your input signal, which is great for highlights. Lowpass filters are better for larger, darker spots.
If you have a lot of Eurorack audio modules around, audio filters are worth exploring for this purpose. They won't have the same bandwidth and fidelity as dedicated video versions, but for these purposes, they will probably do the trick.
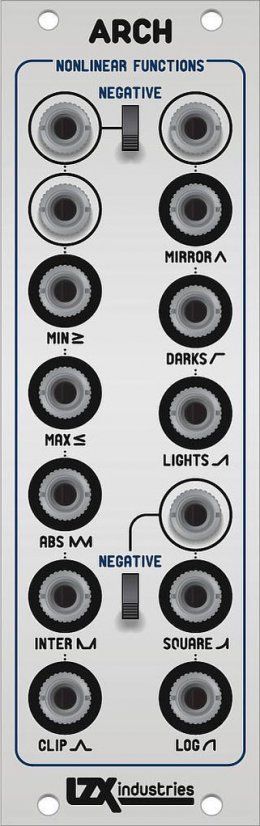
If you're looking for the best bang for your buck, I'd go with the Arch. The right-hand side is perfect for pulling out highlights and shadows. If you want a little more fine control over the resulting shape, run it through an attenuator.
Oscillators
Of course these are signal generators and not processors, but one trick I like to do is use the extra signal outputs for highlights and shadows. Let's say that a significant portion of your patch is using the triangle output from a VWG. Use the sine output from the same oscillator and dial the shape down to a thinner version and boom you have an easy highlight that tracks the movement of your main triangle wave motion.
Compositing
Once you've pulled your highlight and shadow signals you need to composite them together with the rest of your patch. For this, I use my friend, the Color Chords.

Because of the layer prioritization of the Color Chords, I use the Layer 1 input for highlights and Layer 2 for the shadows. For Layer 1, I turn the knobs all the way up to get white and Layer 2, the knobs all the way down for black, then I use the vertical sliders for intensity.
This technique does eat up two layers of the Color Chords, so you may need to chain an additional Color Chords or do some submixing elsewhere in the system (I love a Castle DAC for that purpose) before final highlight/shadow mixing.
And there you go.
Subtractive Images

One way to take this technique even further is to use black as your primary animated shape and have it mask a colorful static image underneath. In this scenario, you're effectively creating a Rubin's Vase. The colorful image will appear to be moving, but it is actually static.
Here's that technique in action:
For this patch, I had a mix of ramps going into the Layer 4 input of a Color Chords, creating a rainbow gradient. I had Layer 1 dialed to black and an animated blob running on that channel.
This technique works best when the black shape reaches the edge of the frame most of the time. The illusion tends to break down when the frame of the image is revealed to be the bottom layer.